
- The Windows lock screen can be removed using the Registry Editor or Group Policy Editor.
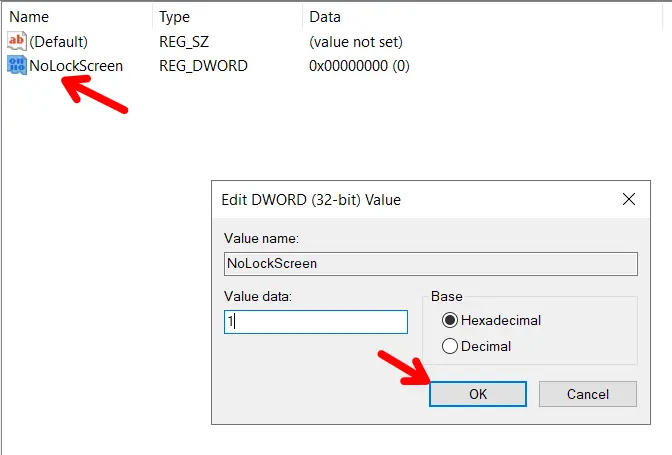
- For the Registry Editor, create a DWORD named “NoLockScreen” in the Personalization folder and set its value to 1.
- Windows 10 Professional users can remove the lock screen by enabling the “Do not display the lock screen” option in Group Policy.
For many Windows users, the lock screen is the first thing they see when they start their computer. Although it can display beautiful wallpaper, dates and times, and notifications, some people including me find it an unnecessary step in the login process.
Although adding a lock screen to Windows is the best way to prevent others from accessing your important files from your laptop, but sometimes you want to disable it.
So, in this article, I will show you how to disable the lock screen on Windows 10.
Also, read How To Reset Graphics Driver On Windows 10 & 11
How to Disable Lock Screen on Windows 10
Before proceeding with the steps, it is important to create a restore point on your Windows system. Creating a restore point will help you restore your PC’s settings to their previous state in case anything goes wrong during the process.
Here’s how you can create a restore point.
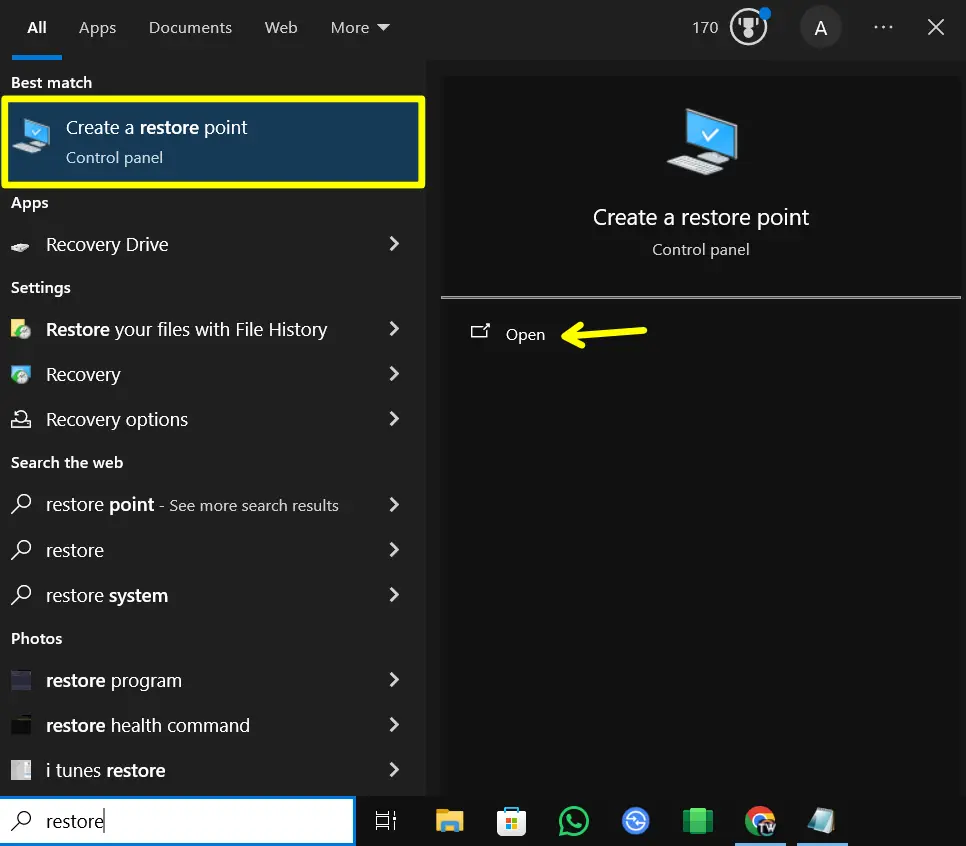
1. First of all, type “Restore Point” in the Windows search bar and click on Open.
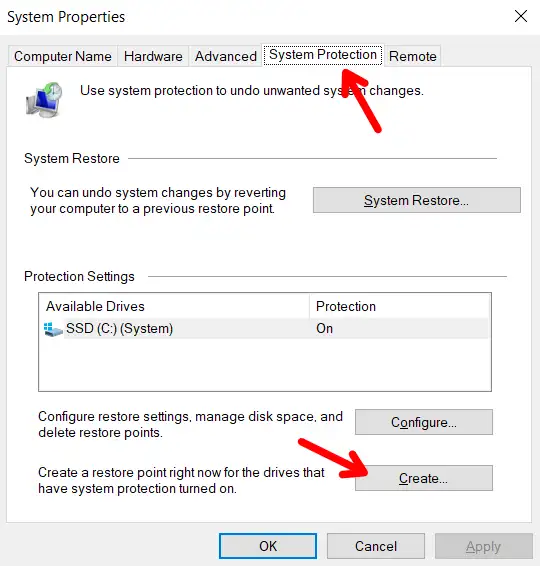
2. Then, go to the System Protection tab, and click the “Create” button.
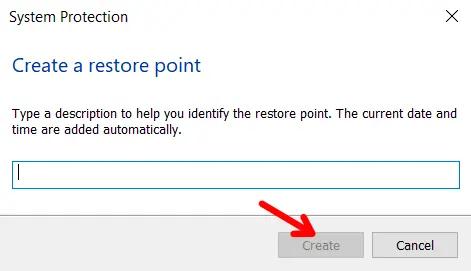
3. After that, type a description for the restore point to help you identify it later. Then click the “Create” button.
4. That’s it. Now your restore point has been created successfully.
Method 1: Disable the Lock Screen Using the Registry Editor
If you are using Windows 10 Home Edition, you can disable your lock screen using the Registry Editor. This is the only straightforward process for Windows 10 Home Edition users.
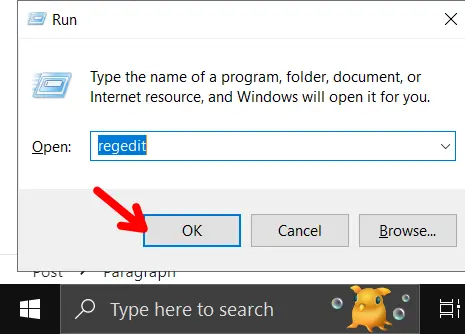
1. First, Press Win + R, type regedit, and hit Enter to open the Registry Editor.
2. Once the Registry Editor is open, navigate to the following key:/
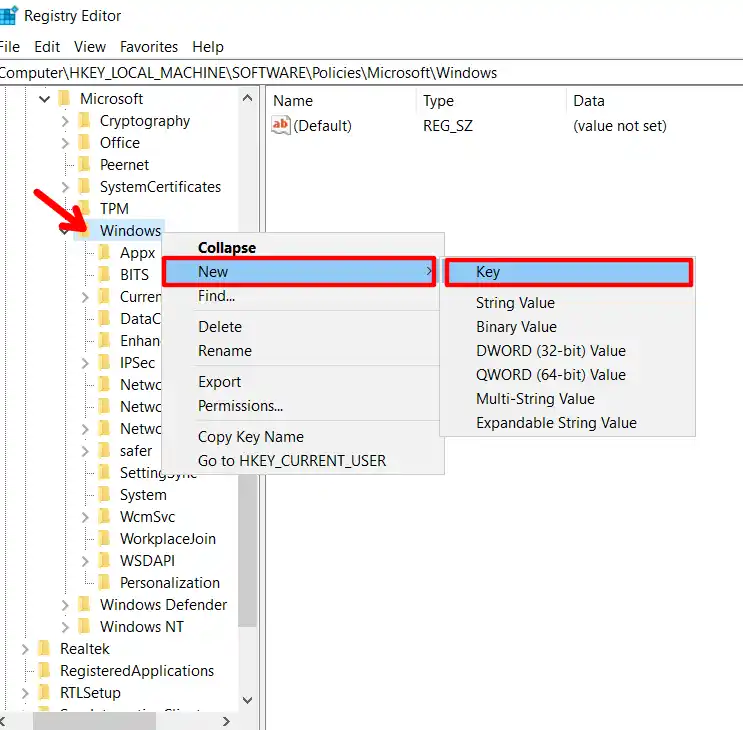
HKEY_LOCAL_MACHINE\SOFTWARE\Policies\Microsoft\Windows\
3. Then, right-click the Windows folder, choose New > Key, and name it Personalization.
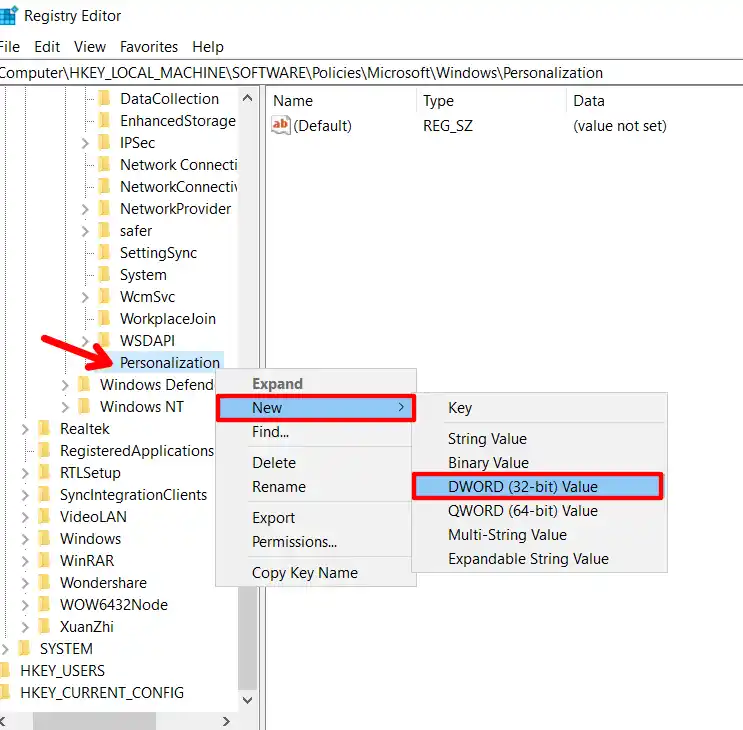
4. Now, right-click on the Personalization key, select New > DWORD (32-bit) Value, and name it NoLockScreen.
5. Now, double-click NoLockScreen and set its value to 1. This will disable the lock screen. Click OK to confirm.
That’s it. Now, close the Registry Editor and restart your computer to apply the changes.
Remember, if you ever want to enable the lock screen again, just change the NoLockScreen value back to 0.
Method 2: Disable Windows 10 Lock Screen using Group Policy
Disabling the Windows 10 lock screen using Group Policy Editor is a method that works primarily for systems running Windows 10 Pro, Enterprise, or Education editions. Here’s how you can do it:
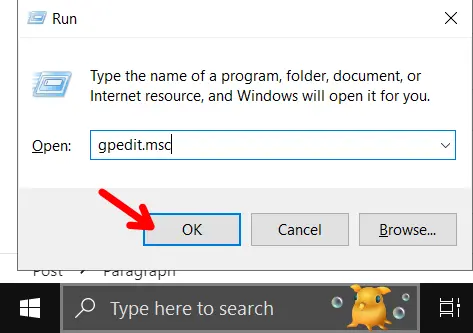
1. First, press Win + R, type gpedit.msc, and press Enter.
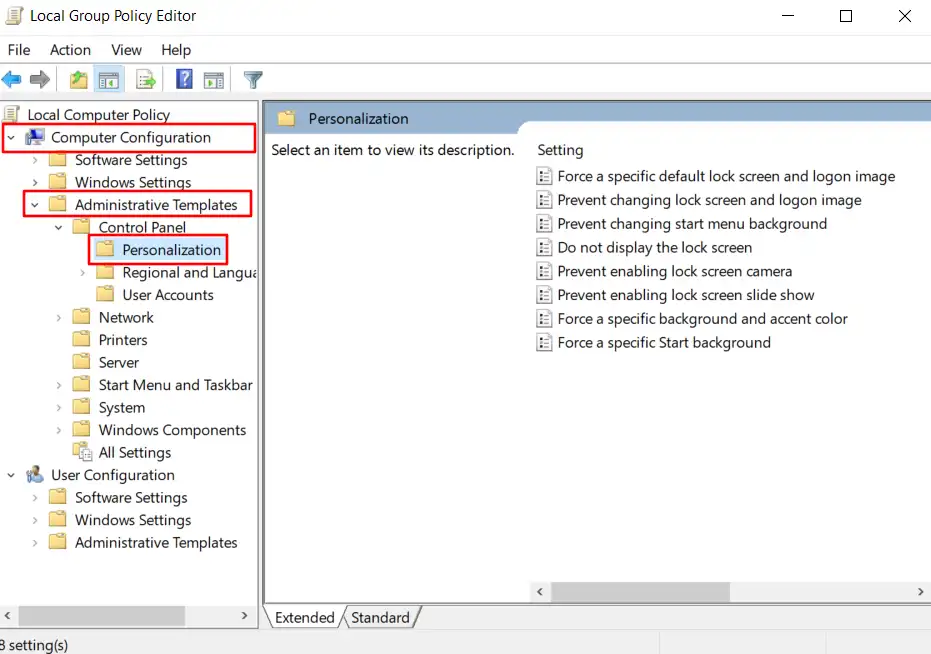
2. Then, go to Computer Configuration > Administrative Templates > Control Panel > Personalization.
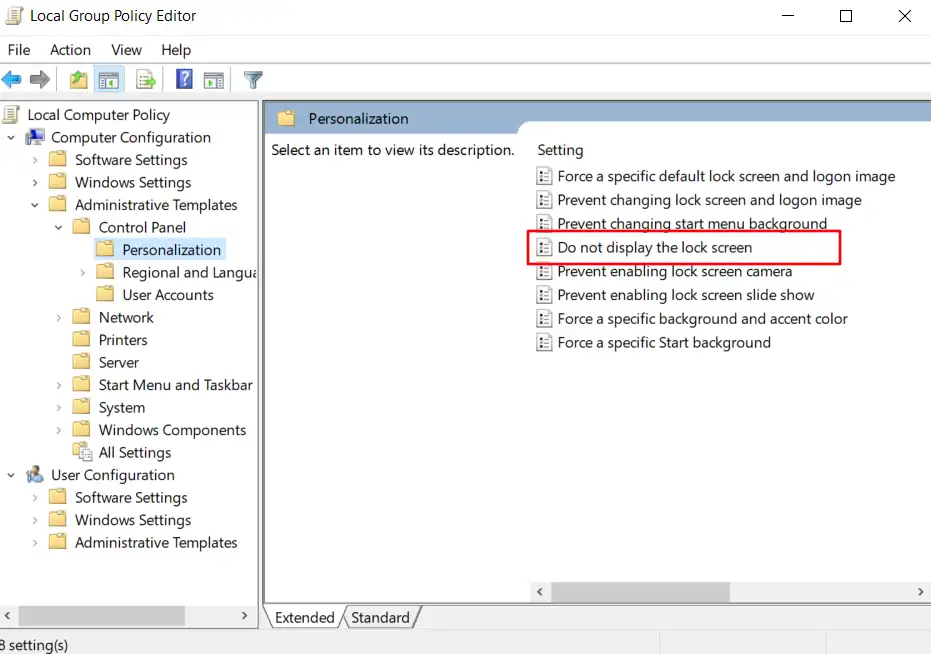
3. Next, find and double-click on the Do not display the lock screen setting.
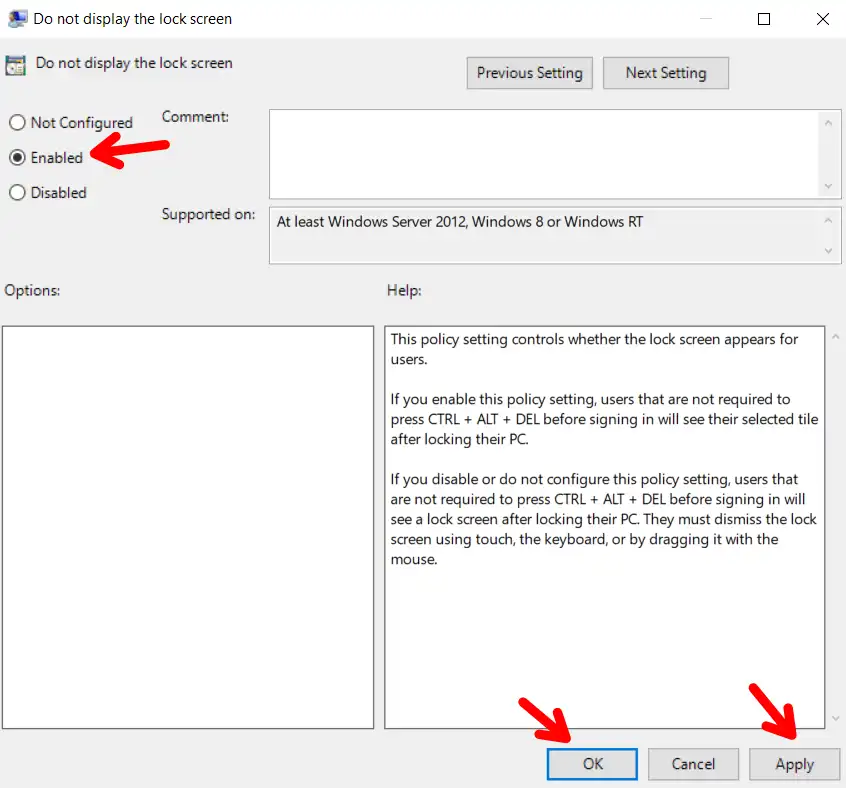
4. Now, in the window that opens, choose “Enabled” to disable the lock screen. Afterthat, click on “Apply,” then “OK,” and finally, close the Group Policy Editor.
That’s it. You have successfully disabled the lock screen from your Windows using Group Policy. You can verify the change by locking your computer by pressing Win + L.
Conclusion
So that’s all. In this article, I have shared step-by-step methods to disable the lock screen on your Windows 10. Make sure you follow the steps carefully, otherwise you will get some errors.
Also, make sure to create a restore point before making any changes. It helps you restore your PC if anything goes wrong.
Recommended Articles
How To Download Turbo C++ 4.5 For Windows 10 – (64/32 Bit)
How To Fix Crunchyroll Black Screen On Chrome In Easy Steps
No Windows 12 in 2024, Windows 11 24H2 is to released this year