Windows operating systems usually work well most of the time, but sometimes they get corrupted causing them not to work properly. This corruption might happen due to several issues with system files, updates, or other errors. These issues can be really annoying.
Luckily, Windows comes with a useful tool called DISM (Deployment Image Servicing and Management) that can resolve these issues. In this article, I will explain how to use the DISM Command.
What Is DISM and Why Is It Important?
DISM commands are mainly used to fix Windows system image files. They are particularly helpful when the system faces issues or problems. It tool offers various features to repair a system image, including “CheckHealth,” “ScanHealth,” and “RestoreHealth.”
It’s recommended to use them in the following order: first “CheckHealth,” then “ScanHealth,” and finally “RestoreHealth.” Here’s how to use it.
When Should You Use DISM?
- When SFC fails: If you’ve run the SFC command and it wasn’t able to repair the corrupted files, DISM is the next tool to try.
- Frequent crashes or errors: If your system is becoming unstable, DISM can help stabilize it by repairing corrupted files.
- Windows update failures: If Windows updates fail to install, running DISM can solve underlying system file issues.
Step 1: Run The Command Prompt As an Administrator
To use these commands, first, you need to open the Command Prompt as administrator rights. Here are the steps to access Command Prompt on Windows 10, 11.
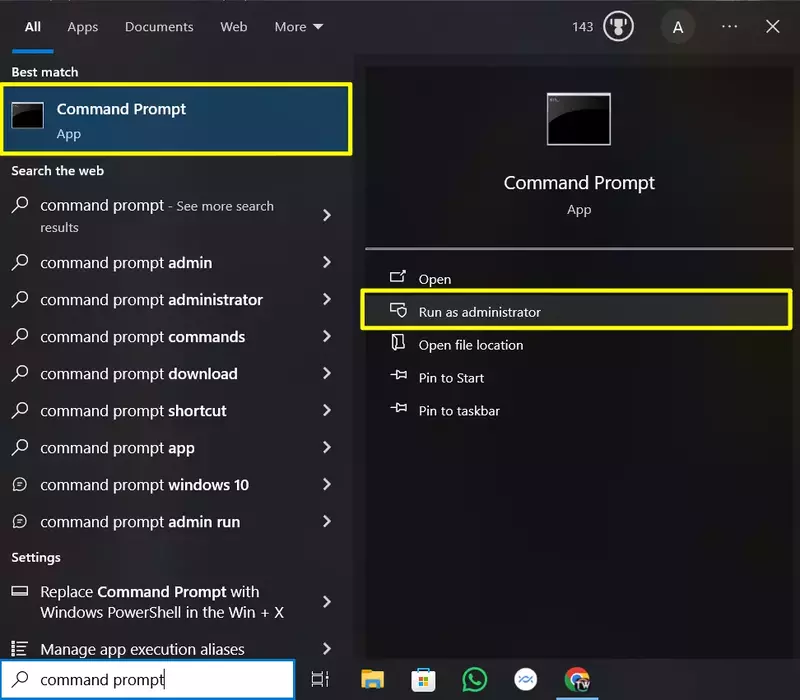
- Go to the Windows Search bar and type “Command Prompt.”
- Right-click on the Command Prompt application and choose “Run as administrator.”
Step 2: Check File Integrity
Now, Before starting the repair process, it’s important to check if there are any issues with the Windows image. You can perform this check in two ways: using the “CheckHealth” or “ScanHealth” commands. Here’s how to check file integrity with the DISM tool.
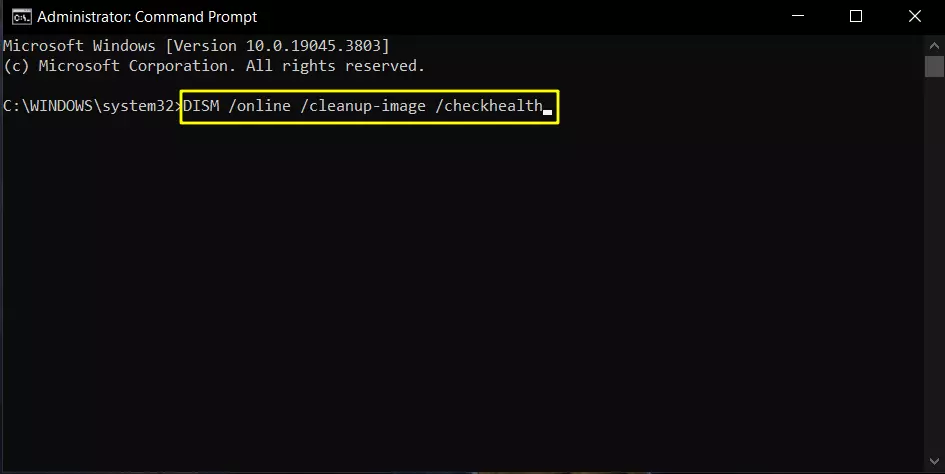
Check Health Command
This command is used to check the health of the current Windows image. It performs a quick scan to determine if the Windows image is repairable. Simply, Enter the command provided below into the command prompt and press the “Enter” key.
DISM /online /cleanup-image /checkhealth
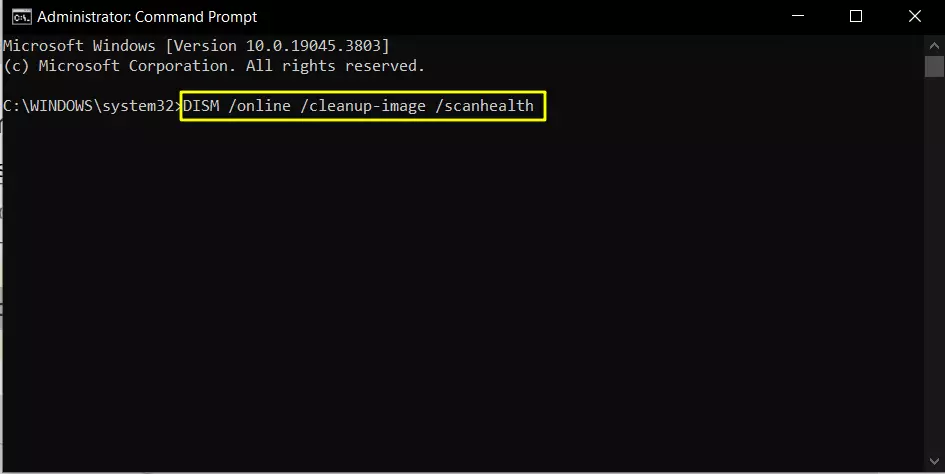
Scan Health Command
This command checks for any corruption in system files but doesn’t fix errors or problems. Here’s the command to enter in the command prompt.
DISM /online /cleanup-image /scanhealth
Step 3: Repair System Corrupted Files
If the scans mentioned above detect any corrupt or missing files, you can repair them automatically using the DISM command. Make sure that you are connected to the internet and then enter the below command on the command prompt.
DISM /Online /Cleanup-Image /RestoreHealth
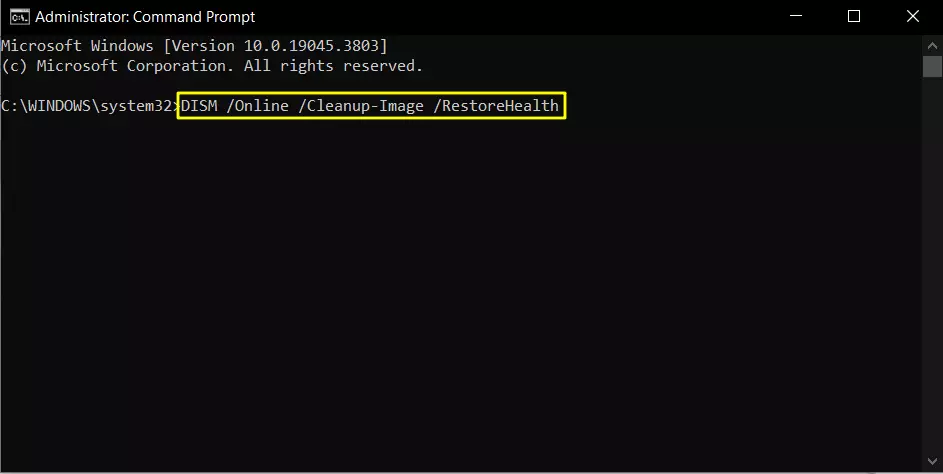
The process may take some time, so please don’t close the Command Prompt. It might seem like it’s stuck, but this is normal. It will perform the scan and connect to the Windows Update service to download and replace the corrupt files.
Step 4: Repair Corrupted Files Manually
In some rare cases, if DISM fails to repair corrupted files correctly, you’ll need to fix your system image offline manually. To do so, first, you need to download the latest version of the Windows 10 or 11 ISO file directly from Microsoft’s official website.
1. First, open your browser and visit this link: Windows 10, Windows 11. ( If you are a Windows 10 user, click on the Windows 10 link. If you are a Windows 11 user, click on the Windows 11 link.)
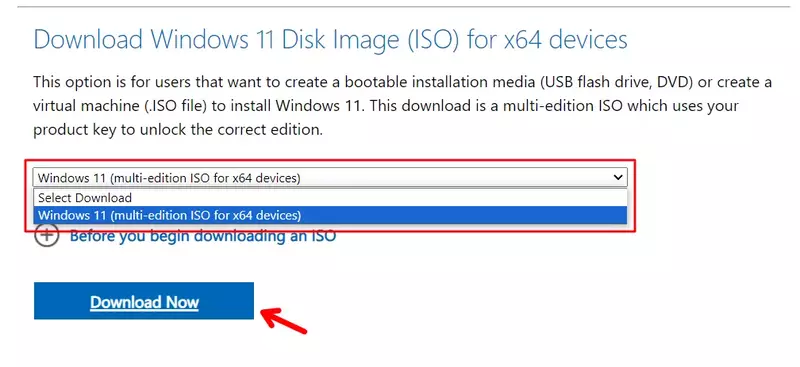
2. Next, scroll down to the “Download Windows 11 Disk Image” section, choose your edition, and then click the download button.
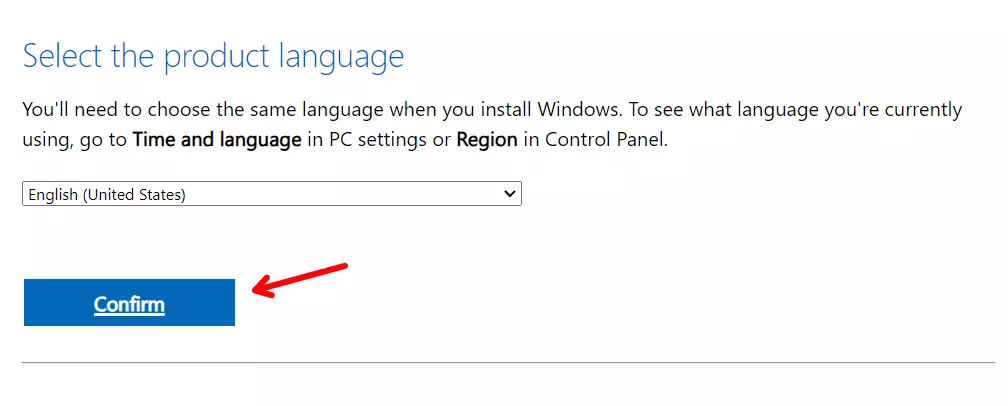
3. Once done, you will be asked to choose the product language. Choose your preferred language and then click on the Confirm button.
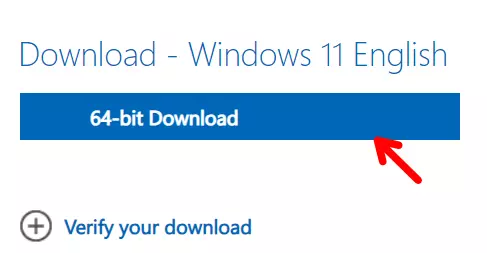
4. Now, You will get the Windows ISO file. Click the “64-bit Download” button to download it to your PC.
5. That’s it! You have successfully downloaded the Windows 10 or Windows 11 ISO file. Now, open the Command Prompt as an administrator and enter the below command.
DISM /Online /Cleanup-Image /RestoreHealth /Source:C:\Sources\install.wim
In the command, replace ‘C’ with the mount point drive letter where your downloaded ISO file is located.
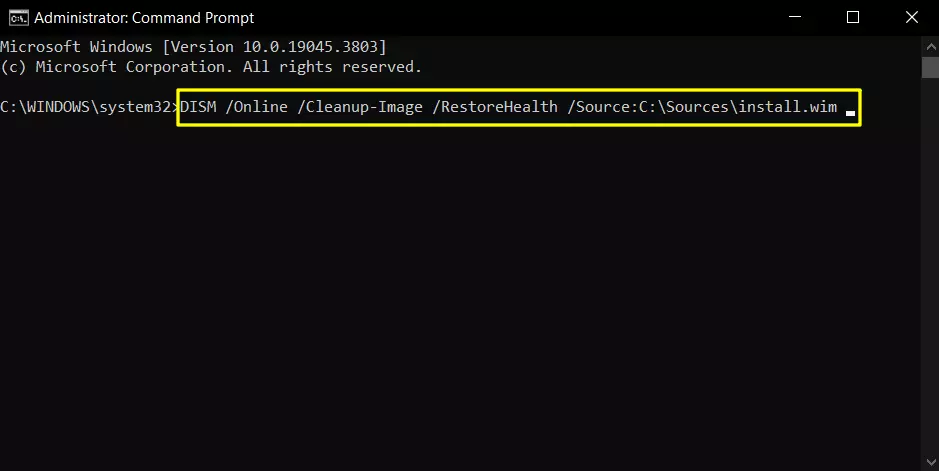
6. Once you finish the steps, the command will scan and fix the problems using the “install.wim” file.
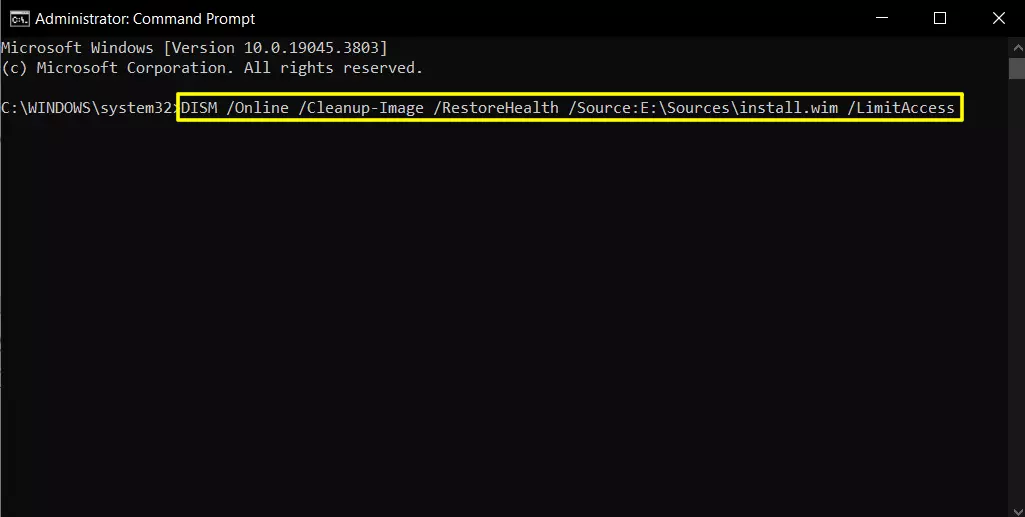
Optionally, you can use the below command to limit the use of Windows Update as a repair source.
DISM /Online /Cleanup-Image /RestoreHealth /Source:E:\Sources\install.wim /LimitAccess
Conclusion
So, that’s all about how to use DISM commands to repair Windows 10 and 11 System Images. In this article, we have shared an in-depth step-by-step guide to repairing your windows using DISM Commands. Also, if you find this article helpful, then feel free to share it with your friends.
Recommended Articles
How to Send HD Quality Photos on WhatsApp
How To Turn Off Suggested Posts On Instagram Feed?
How To Register IDM Without Serial Key For Free